Use VSCode to SSH in Remote Systems
Prerequisite
Install the Remote SSH extension on VSCode.
Configuration
- Press
Ctrl + Shift + Pand search forRemote SSH - Connect to Host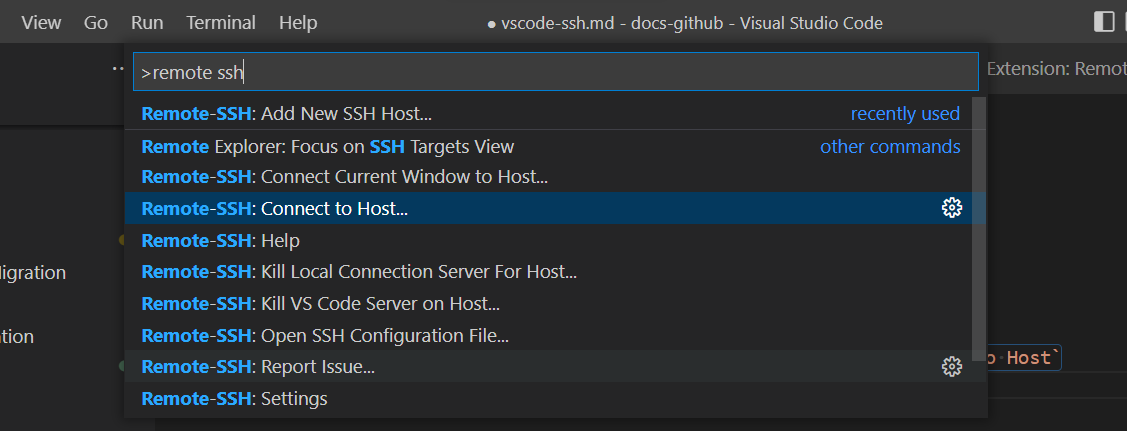
- Once you click on
Connect to Host, you will be prompted with the screen.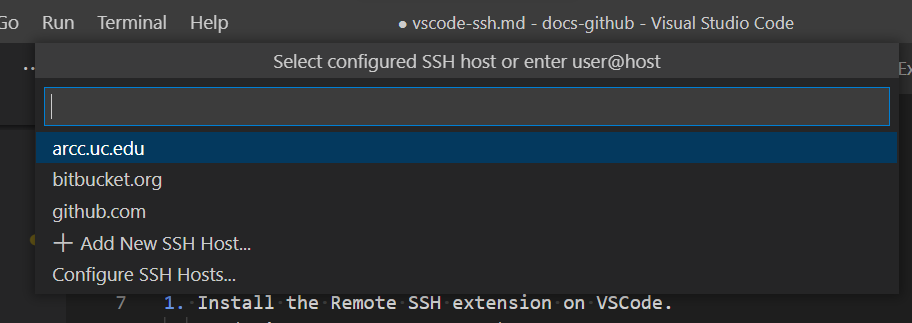
- Click on
Add New SSH Hostand add the correctSSH Connection Command. - In my case, the command was
ssh mistryds@arcc.uc.edu - Once you have added the command, save the config in
C:/User/<your-name>/.ssh/config.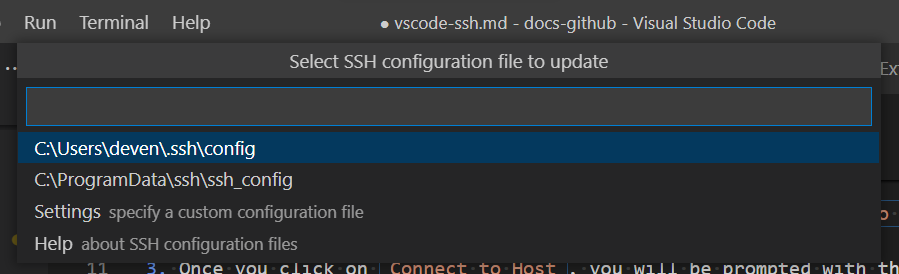
- Once you have done that, your SSH config should now look like this.
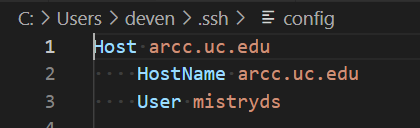
- You are now ready to connect to the SSH server.
Connect to MSI server
- Follow steps 1 to 3 in the Configuration section.
- In this case, the terminal command should look like this.
ssh gqc@192.168.94.40 - Once the command is added, follow the remaining steps in the above section and proceed to Connect to Host step.
Connect to Host
- Press
Ctrl + Shift + Pagain in VSCode and search forConnect to Host.
Note: Make sure you are connected to the internet through your organization's VPN.
- Select the config you just created.
- After you click on the option, VSCode will ask you enter the password to your.
- Enter the password.
- Ta-da! You have now logged into the SSH server using VSCode.
- Open the directory of your choice and use VSCode to its full potential.
Note:
- You might need to re-install some VSCode extensions on the remote server. Install them at your own discretion.
- You might want to ask someone from GQC, the password to the configured system
Setup SSH-keys to authenticate access to the remote machine
Instead of providing password each time we access a remote machine, we can authenticate through a
SSH-key.
Setting up remote login to
microcenterandMSImachines with SSH keys. Assuming your local machine is running on Windows. Similar commands are available for linux.In your local machine (Windows), open a terminal window and run
ssh-keygen -t ed25519.- Give a unique name to the file. For example, I'm using
C:/Users/pavan/.ssh/id_ed25519_microcenteras the name. - This will generate a private key (with no extension) and a public key (with
.pubextension) - We use the private key at our end and put the public key in the remote in the next steps.
- Give a unique name to the file. For example, I'm using
SSH to the remote machine using the password for this time. I used
VSCodeitself to connect. Copy the content of the generated.pubfile to~/<user>/.ssh/authorized_keysfile in the remote machine (linux).In
VSCode, Open SSH configuration file by pressingctrl+shift+pand typingRemote-SSH: Open SSH Configuration File
- Select the User level configuration file (default)

- Select the User level configuration file (default)
If you already have a configuration for the same IP address, replace it with the following fields with the corresponding values. If not add these at the end of the file.
Host MicroCenter
  HostName 192.168.50.57
  User gqc
  PreferredAuthentications publickey
IdentityFile "/Users/pavan/.ssh/id_ed25519_microcenter"Host: Put a unique name for the machine. Doesn't affect the connectionHostName: IP address of the machineUser: Username. Typicallygqc- PreferredAuthentications: Keep this as
publickey - IdentityFile: Path to the private key file. Follow the exact same syntax as shown in snippet above. Note that
C:/is omitted from the path.
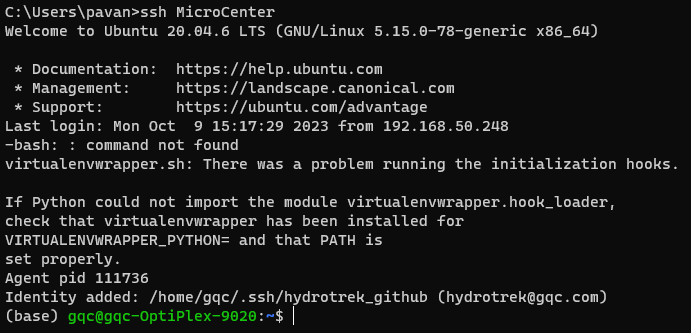
Configuration is now complete. You can test the connection either using VSCode itself or through any terminal with ssh support.
- VSCode: Follow the Connect to Host steps. But this time it won't ask for password.
- Windows Terminal: